
Have you ever wondered how we make the flowers for the window displays? Well wonder no more! We're going to take you through the process of making these wonderful flowers. Let's get started!
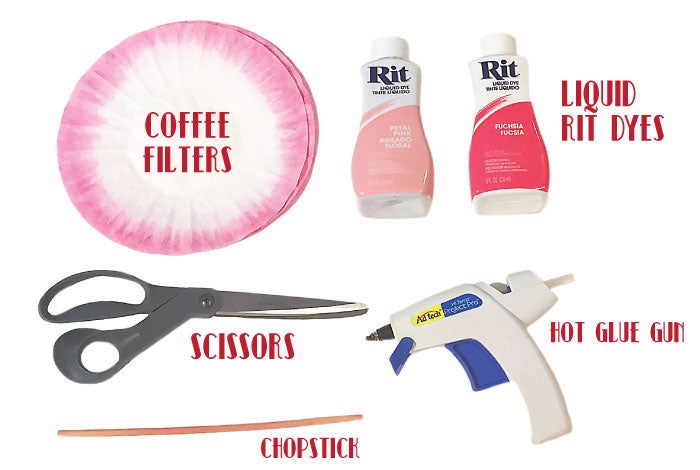
SUPPLIES:
Liquid Rit dyes
Coffee Filters
Glue Gun
Chopstick
Scissors
Glass bowl of water
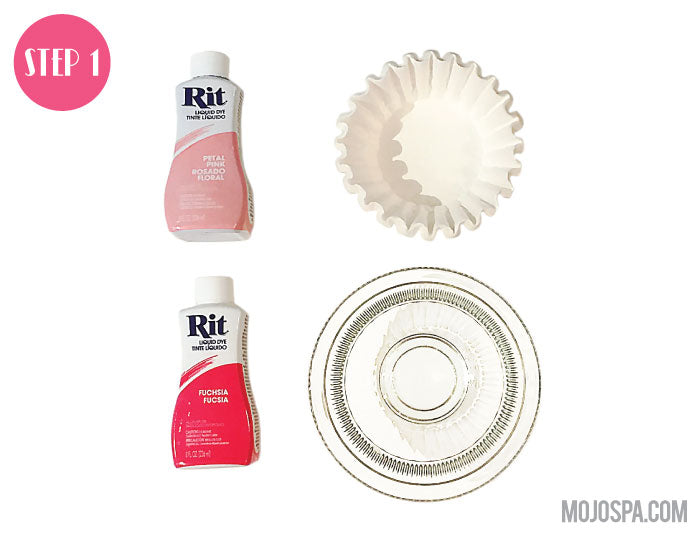
STEP 1: Add a cupful of Rit dye to glass bowl and add warm water. TIP: if you want the color darker then add more dye to the water. DON’T: use a powder dye because it will look muddy and it will leave dark spot.
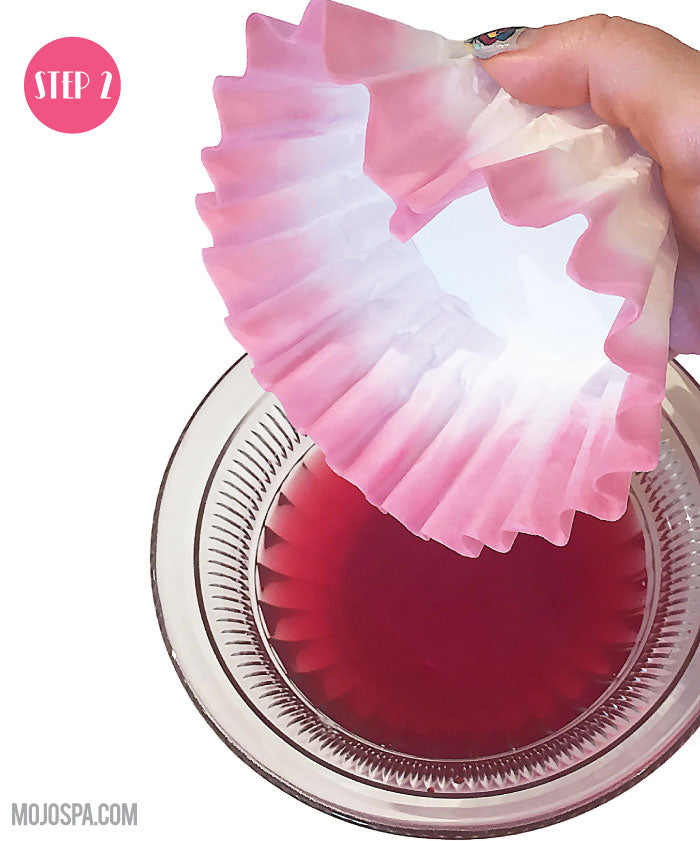
STEP 2: Take a generous amount of coffee filters and dip them into the dye solution. Dip the tips or for a full color flower dip as much of the coffee filter in the water and hold until the dye solution gets absorbed to the top of the wedges.
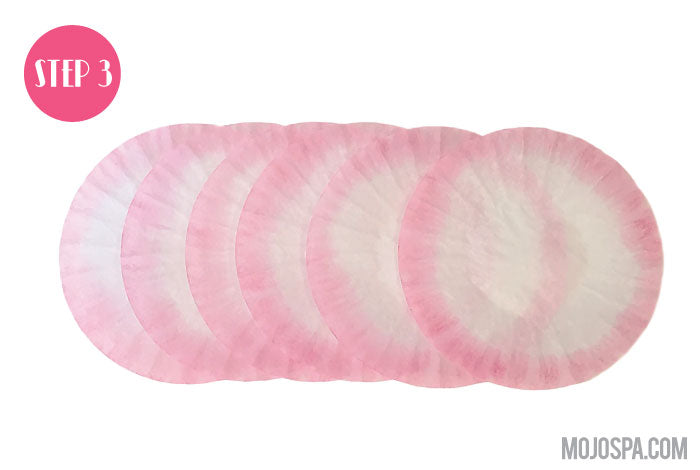
STEP 3: Lay your coffee filters to dry on garbage bags so it does not dye your table.
STEP 4: When your dyed coffee filters are completely dry, plug in your glue gun and get your scissors and chopstick ready to go.
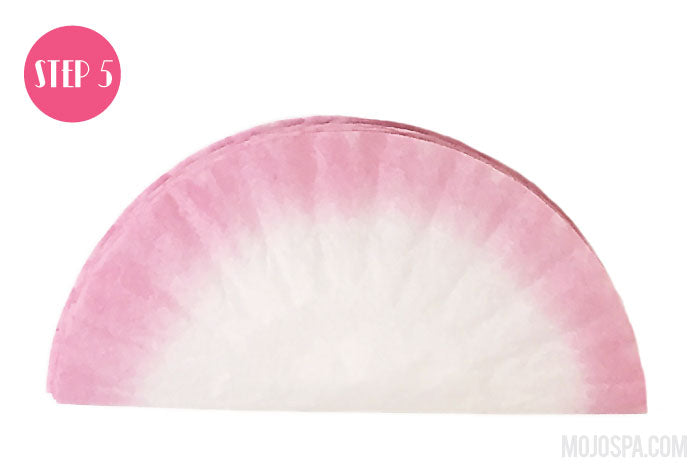
STEP 5: Count 6 dyed coffee filters and stack them on top of each the fold them in half.

STEP 6: Then fold in half again
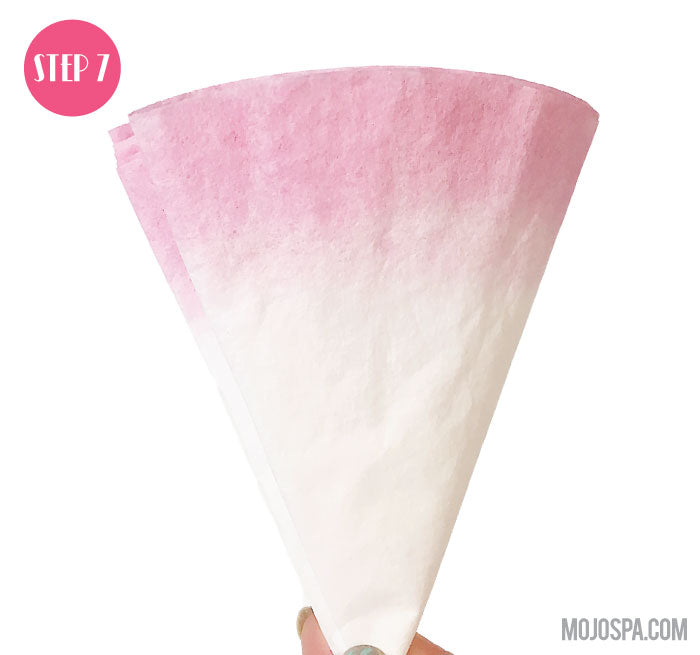
STEP 7: Repeat step 6
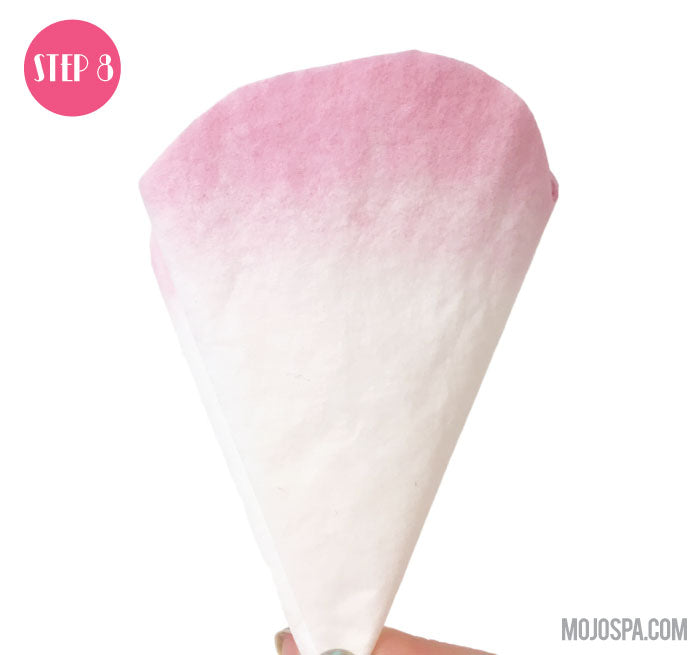
STEP 8: Now take your scissors and cut the ends off to create a curve just like you would see in an individual flower petal. TIP: Cutting different designs will lead to different effects and will make it look like a different flower.
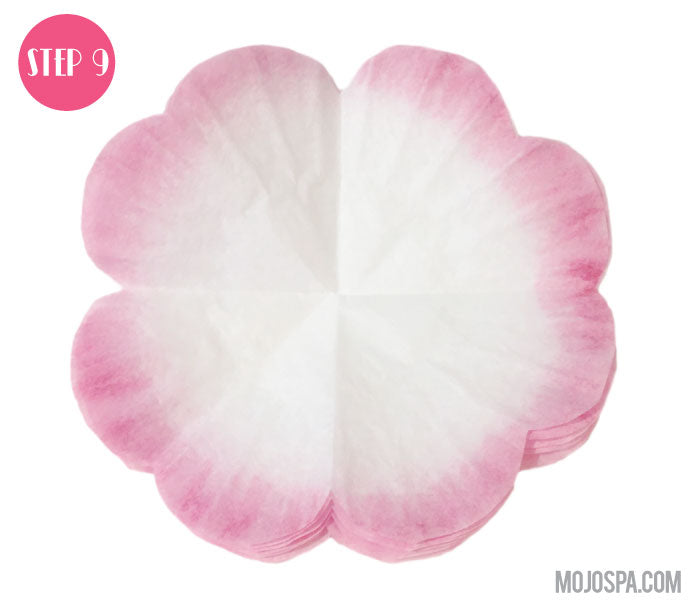
STEP 9: Unfold the flower and make sure the petals look the way you want. TIP: if the petals don’t look right then refold it and cut it again.
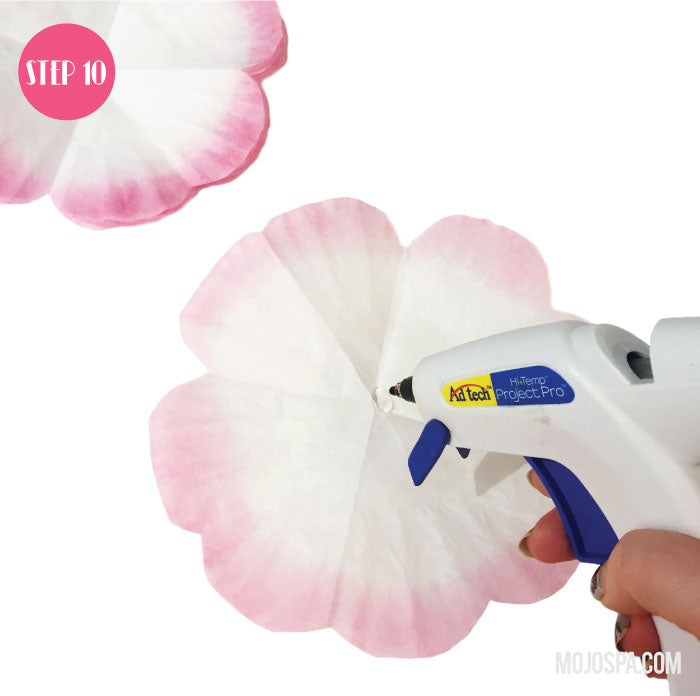
STEP 10: Take one dyed coffee filter and place some glue in the center.
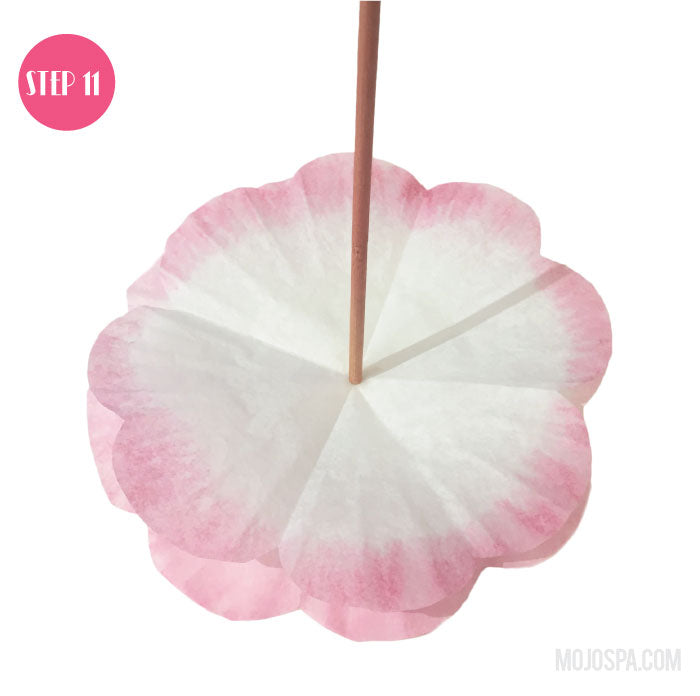
STEP 11: Take another dyed coffee filter and place it on top while using the chopstick to secure the petals together. DON’T: line up the petals or you will get a flat flower that does not have body or texture to it.
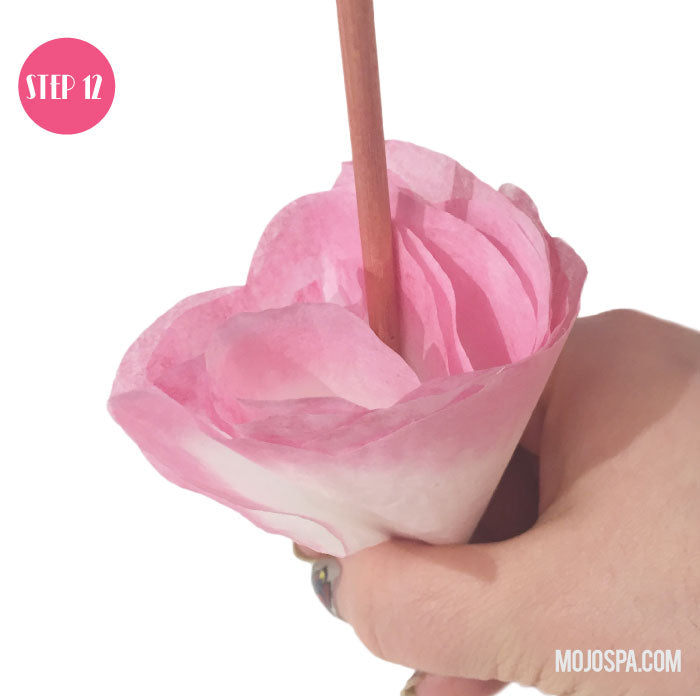
STEP 12: While chopstick is in the middle of the flower take the outside petals and bring toward the center and scrunch them around the chopstick.
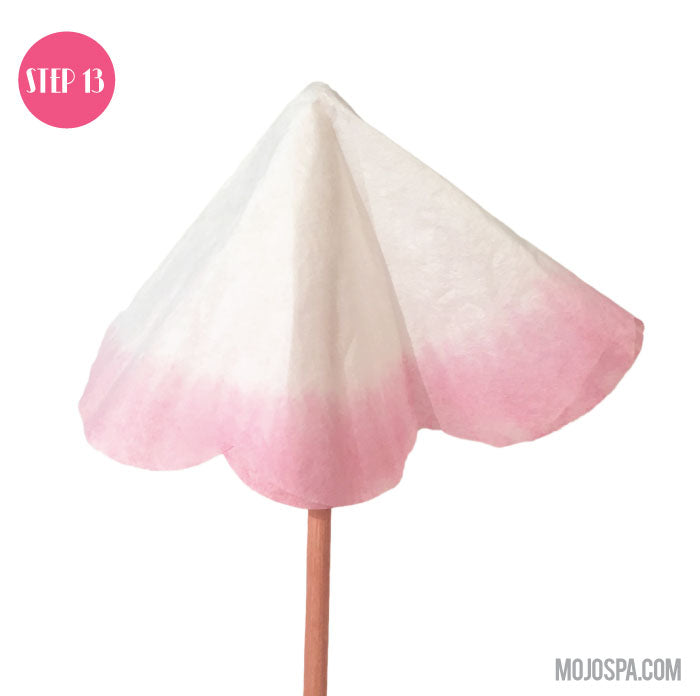
STEP 13: Let go and petals should hold their shape and not be flat anymore.
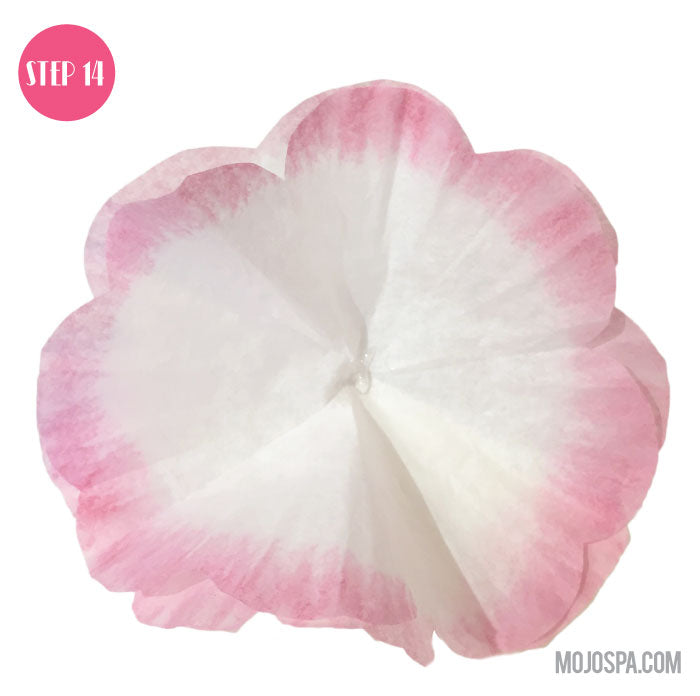
STEP 14: Place some glue in the center again.
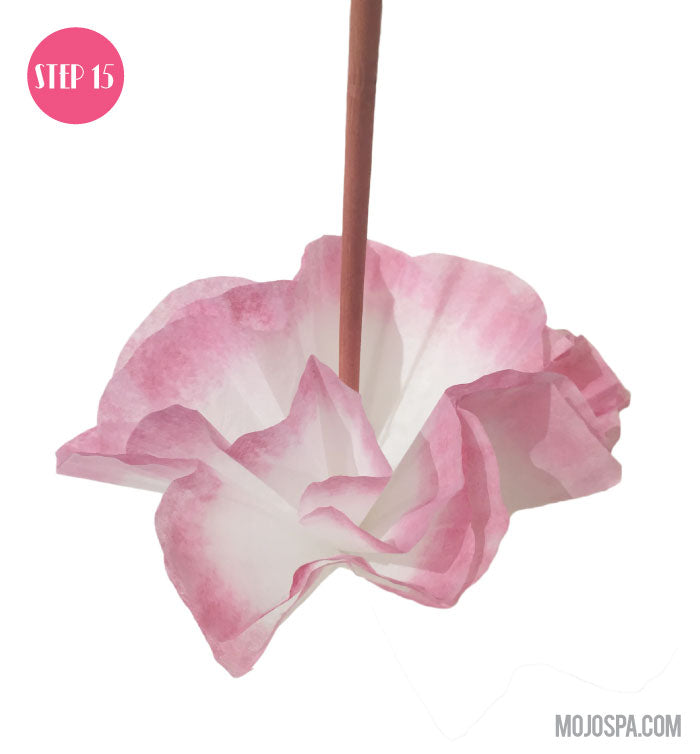
STEP 15: Add another dyed coffee filter and secure in the center with the chopstick
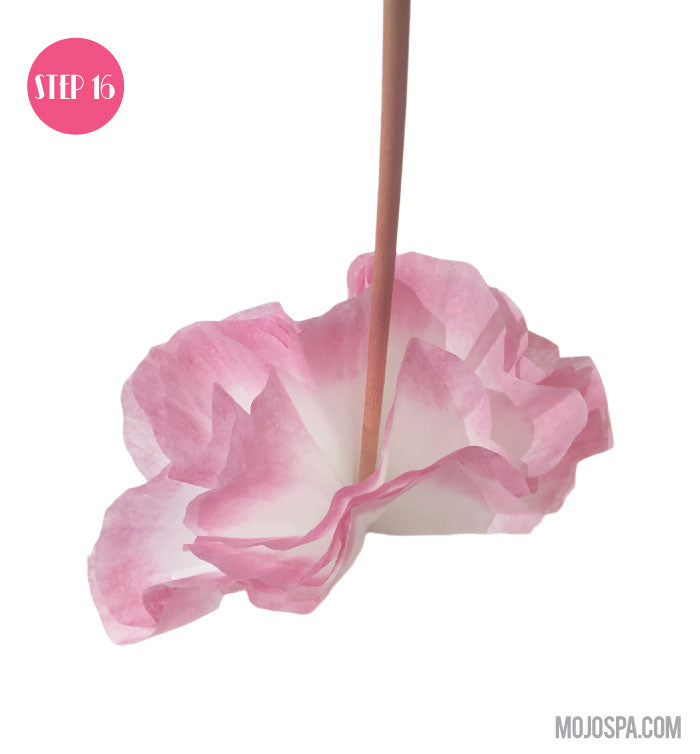
STEP 16: Scrunch the petals toward the center & repeat this process with 3 more dyed coffee filters
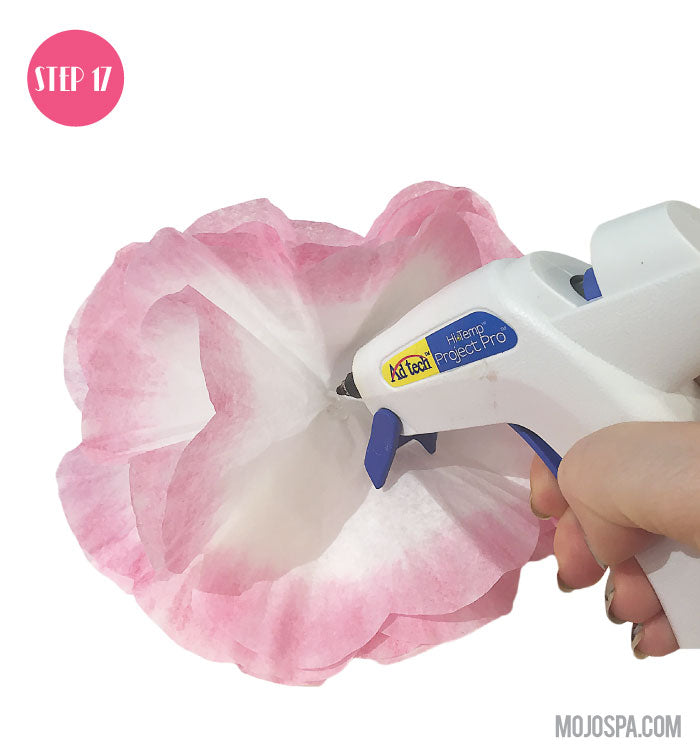
STEP 17: For the last dyed coffee filter, open the flower a little and place some glue in the center
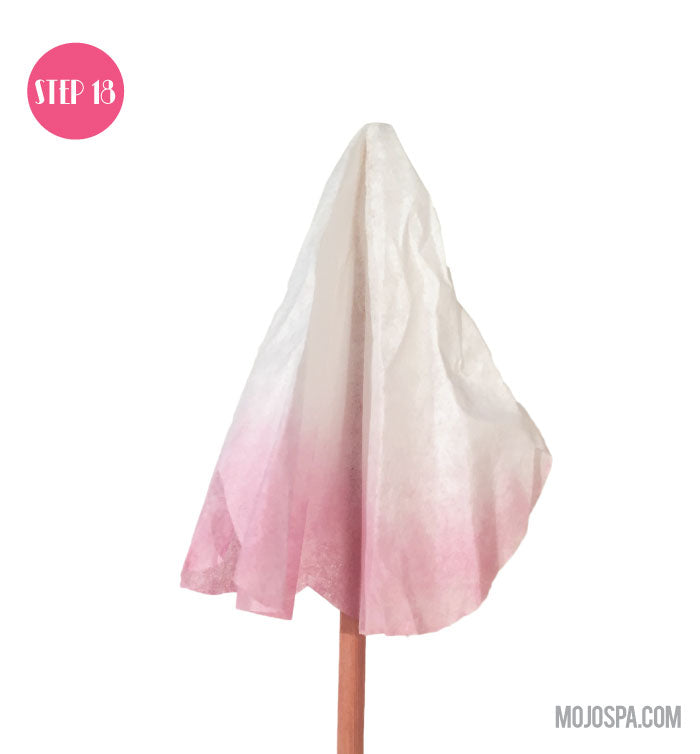
STEP 18: Take chopstick and place it in the center of your last dyed coffee filter and scrunch it around the chopstick. TIP: Keep it on the chopstick to help you place it in the flower better.
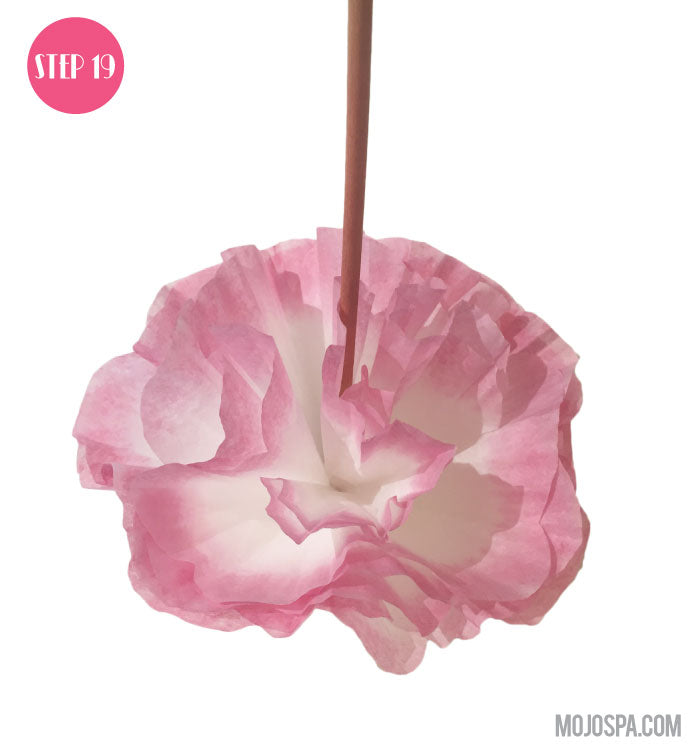
STEP 19: Place it in the center of the flower and hold for the layers to bind for about 15 seconds
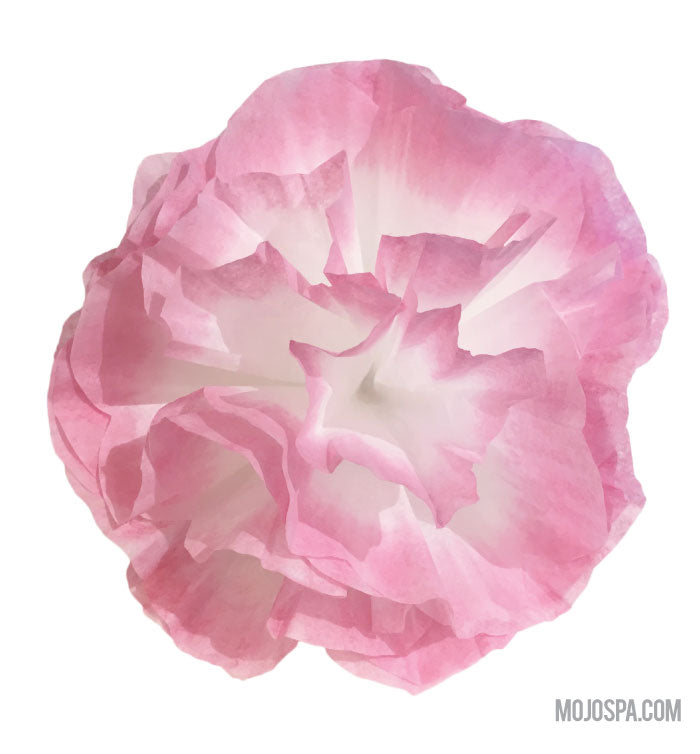
Open your flower a little and fix any layers that are too close together. Now repeat all steps and keep creating!

We hope this tutorial will help you add some color to your surroundings. Be sure to share your flower creations with us and tag us using the #getyourmojoon! We can't wait to see where your creativity will take you!
Can't get enough floral? Check out our Floral Martini Candle and let yourself be lost in a flower garden.
xoxo


1 comment
I like you craft